Showing posts with label frame. Show all posts

Wednesday, July 25, 2012

The Great Glitzy Craft Off- Day Three

For day one of our little get- together, I made something beachy.
Day two saw black and white stripes (and an unhappy man)

Day three won't deviate from this winning combo, so you'll get stripes, black & white AND beach. Somehow, I sense you are not surprised :)

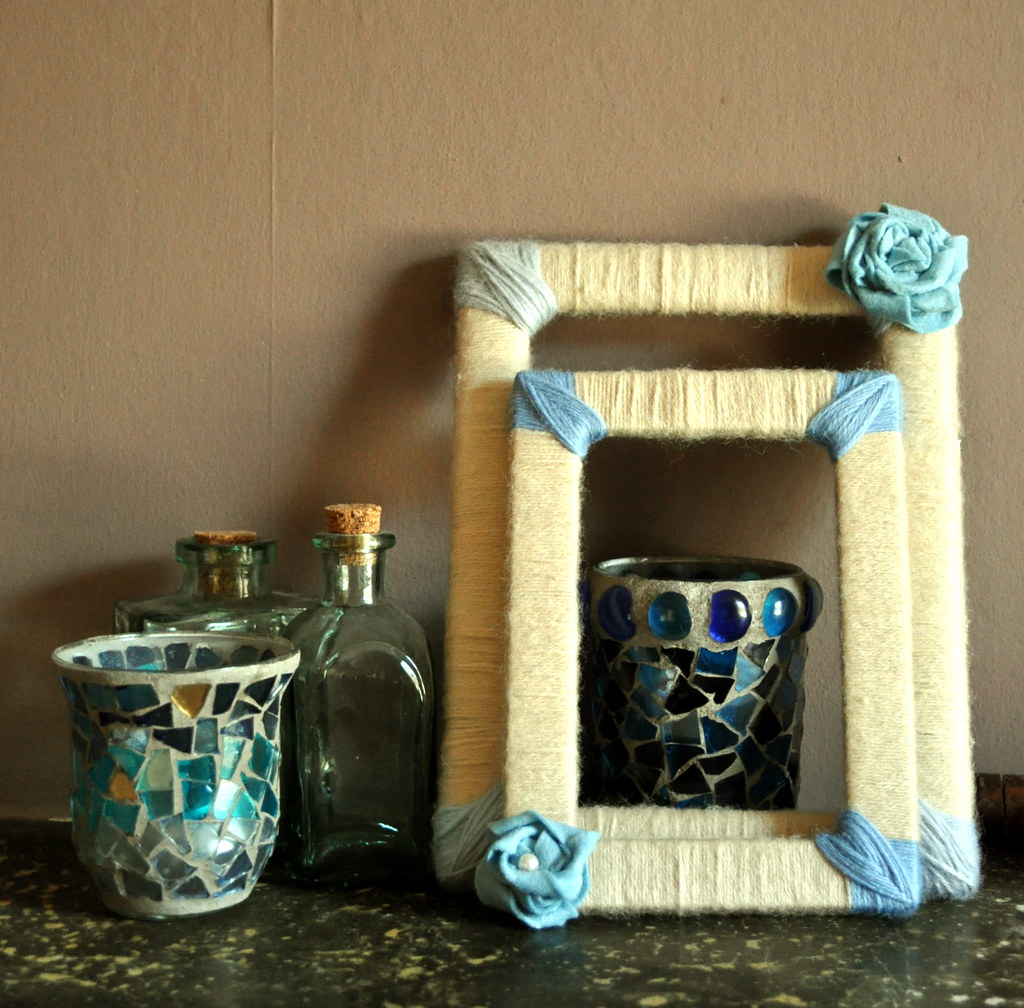
Since I started with a few little projects for the mantle, I reckoned that I might as well go all the way and finish it up, glitzy style.


This was my inspiration. Kind of.

See those chevrons? Aren't they cute? Yeah, I think so, too, guys.
But they don't look very nautical, really. When I think nautical decor, it's stripes. Stripes like those on any given pseudo- sailors' shirt. 
And when I think mantelpiece, I automatically disqualify stuff that can shatter into too many pieces, so plates were out, too. Don't get me wrong, I DID window- shop for plastic plates, but they were either too expensive or too tacky. And the whole point is to be a cheapskate and still get the look!
So what does a clever gal do?
Exactly. Shop the house.
I found a shedload of plain, white IKEA picture frames in one of my drawers and immediately, an idea took shape, requiring nothing I didn't have in the house already, namely:

black spray paint
sticky tape
white spray paint
music sheets
plastic nautical critters (admittedly, I bought these for the CraftOff, very cheaply off eBay)

I shall let the photos speak for themselves.


What do you think? Too tacky? Too much?

By the way- the last two pictures were taken with my almost- back- to- normal camera! I just couldn't leave well enough alone and woke her up to see if maybe we could be friends again.
She's not back to her normal flashy self, but cooperates quite nicely, given I treat her gently.
Happy days!

Tomorrow is another day... 
Her project turned out a major fail, I am afraid- but see for yourselves.


Sunday, May 1, 2011

It's not easy being green!

So we survived another weekend of minion infestation. Took 'em to the park, and a good time was had by all.
Who am I kidding? We had a blast!! The weather was awesome, the kids were on their absolute best behaviour, and it turns out that a walk in the woods is about a gazillion times more entertaining than the TV, the PC, and any random heap of plastic ever deemed a toy. This will be a (kinda) crafty post, but please let me show off the babes!


There were football hooligans, imaginary dogs, bear caves and ancient graves. Take that, Playstation, Wii and Cartoon Channel!

Anyway.

I figured that with my Mums' visit approaching fast, I better get my behind into gear and tackle the worst disaster areas in the house. Pretty much the first thing that come to mind is the fungus farm in the bathroom. It hasn't seen a lick of paint since we moved in, and mould is spreading like there is no tomorrow. There is pretty much nothing we can do about it- the house is old, the room is badly ventilated and the paint that graces the walls at the moment was, I suppose the cheapest on the market.
So we went all out and bought a bucket of "lime crush"- yes, "lime crush". My choice. In my first flat, I was still a teenager, I had a green "wet cell", and it sort of tickled my fancy. Wanna see the disaster zone I'm talking about? Behold- our poor bathroom!

I had a few brush strokes to test it, and I guess I can live with the colour. As long as it's not mould green, I'm all for it!


I intend to take down the shelves you see in the picture. All they do is steal light! Honestly, if I wanna slap on some make- up, I have to do it somewhere else because for the love of mascara I can't see what I'm doing in that bathroom mirror.
But that means the wall is going to be empty. And there is nothing worse than an empty wall, right?

Say hello to my new earring organizers!!

No tutorial needed for these bad boys. Have a look:


All I did was adhere some fabric to cardboard I cut to size to fit the frames (this way I can keep the original backing in case I get tired of organizing my bling!), added some wire to one of them, some crocheted flowers (please check Mandys blog for the super- easy tutorial, the green flower is my first ever and not at all bad, if I may say so!) to the other, stuck some of my shinies to them and there they are, ready to grace the new lime crush- coloured walls.

Unfortunately, the daylight disappeared before I could take pictures, so the colours look a tad (very) odd. In reality, they actually match, and I'm hoping they'll look ok on the wall, once it's done.
What I shall need now is a solution for my necklaces, but I think that a few twigs and white spray paint might help me out.

Stay tuned, I have a hunch my next post will involve paint, brushes and a lot of green!

Love y'all, hope you had a great weekend.

Tuesday, March 22, 2011

It's a wrap, Scotty!

Don't worry, the title will make sense in a minute, if you wanna stick around!

You might have gathered that I dance at many a wedding. Metaphorically speaking, because I can't dance. The women in charge of my tormented, traumatic childhood decided it would be an idea to pay for lessons when I was a teenager (disco fox and waltz, I mean, seriously??), but I packed it in after 3 or 4 of them and decided to spend my allocated dancing time hanging out with equally uninterested friends, all the while pretending I was duly rocking the dance floor. Mama, it's too late to send me to bed without dinner now that you found out... right? RIGHT?

Anyway, where was I? Ah yes, dancing at many weddings. Dabbling.
A few days ago, I decided that I absolutely HAD to wrap something in yarn, or I would never- ever be happy again. I have many colourful yarns knocking about, a very lucky charity shop find. Not enough of any colour for, say, a scarf or anything, but so many wonderful shades that one feels inspired by simply looking at them. Stashbusting? Yeah, let's call this little project stashbusting, it makes me feel downright organized and sensible. (and you don't get the image of an excited kid in Ye Olde Sweet Shoppe into your heads!)

Unfortunately, a wreath was not really an option because I had no intention of paying good money for a wreath base just to satisfy my yarn wrapping needs. Plus, the need came over me around midnight- not the best time to go wreath shopping. So I had to come up with something that was already at hand. What does every savvy thrifter have an abundance of? Other than empty jars, candle sticks and ready- to- felt sweaters? Correct. Picture frames.

The idea is not new, and if you want to check out a beautiful Pier1- knock off, please head over to Jess, who made the coziest little beauty you could ever wish for. She also has a pretty neat idea how to match the photo in the finished frame with the yarn used.

My approach is less cozy and reminds more of all those beautiful wreaths that pop up all over blogland. I even got to make my very first felt flower! (always hot on the heels of the latest trends... months later...)

Have a look:


I hope it'll look pretty when the candles are lit.

Have you figured out why it is a wrap, Scotty? I'll give you a hint:


and a close- up (because I am pretty chuffed with how the edges turned out, merely by chance as I am not ashamed to admit!)


This craft is strangely addictive and immensely satisfying, so I will keep wrapping things in yarn till my need to dabble in something else comes over me.

Have a great day, peeps, love y'all!


>

Friday, July 2, 2010

Batcidentally in love!

Yesterday was Not. My. Day. It was supposed to be my day off, but for reasons unbeknownst to me, I fell out of bed at 7 am. I mean, what the heck? So I went to lounge about on the couch with a coffee, read some blogs and make the most of it... and the phone rang. A dear colleague (luv ya, Barbara!) had an emergency and could not open the shop, so I duly went and did what a girl has to do. Sit in a badly airconditioned betting shop yawning her head off for 7 hours.

After crawling back home (man, I never felt so tired in my entire life!), I thought I'd just go back to where I left things and went about reading blogs, doing more yawning and pretty much being a waste of space when The Man suddenly stirred and shook his leg... onto which a fat spider had decided to climb.
Let's just say I spent some time on the middle floor, hyperventilating and shaking while the knight in shiny armour unarmoured himself in the quest to find the eight- legged freak. He thought it had made its way into his jeans, so he took them off, took his shirt off, examined the stuff properly and still couldn't find the foe.
Turns out the bugger sat under some furniture, but was eventually found out and politely asked to leave the house (with a gentle nudge towards the neighbour's door!)

With enough oxygen in my bloodstream to last me for a week without breathing, I thought I might as well do something useful (who said washing up? Are you kidding?) and get crafting. And that is where I batcidentally fell in love- have a look.

 The man decided that too many owls spoil the broth, so for my second shadow box (I have three of those ugly frame things going on!) I went with another favourite critter of mine: the Common Dozy Bat.
So again, some doodles first:

 Here they are, the prototypes.

After that, again transferring them to cardboard and some cutting- this time I went for an easier option and only cut the wings and bodies. Even lazier, they only got painted with my new brushes The Man got me the other day (together with a beautiful bag of beads, am I spoilt or what?) and his good old miniature paints.

 Heck yeah, he got me chocolate, too! :)

Bob helped me to prepare the frame, which I had spray painted while the bats dried. A piece of firewood ( I had to go into the basement to get it. Not happy.), some more potpourri and a bit of string, here we go:


The final result: (sorry about the lame pictures, it was pretty late and I had to use the flash)


Closer:


CLOSER:


Love them! Honest, the pictures don't do them much justice, if I may say so myself.

Yeah, and that's 2 out of three! The next one, I hope, will be nutty. Err. Any guesses? :)

Linkin' up:

border="0"/>
giveaways

Monday, June 28, 2010

Owlrighty then!

No envelope of doom project this time, just somrthing I've kind of had in my head for quite some time now.

Owls... don't you just love them? I am lucky enough to sometimes at night hear Twit and Twoo somewhere near my garden, and it always puts a huge smile on my face. Whats more, Leeds has owls in its coat of arms and even its own owl trail.

So, of course I had to jump on the huge bandwagon of owls going on in the blogosphere. What I wanted was a shadow box with owls on a twig, and it all started with this:


I can't help it, my owls always look either startled or displeased.

After sketching them, I went on to cut the shapes (bodies, wings, eyes and beaks) and cover them with fabric from two shirts I'd kept in a drawer for far too long.


While that stuff dried, I disassembled the ugliest shadowbox frame thing I've ever seen in my life, so ugly I don't even want to post a picture. Lets just say it combined a green frame with pink paper flowers, 'nuff said.
The frame got a nice, black coat of spray paint, the rest went over the rainbow bridge never to be seen again.

What I needed now was a twig. Trip to the garden, a ninja- like assault on a tree, job done.

The kitchen table work space during assembly:


Boys and girls, I would now like to take the opportunity and remind you that hot glue is called hot glue because it is HOT. Ouch. Don't ask.

After a bit of feeling immensely sorry for myself, trying in vain to get sympathy from The Man without looking too stupid (again: it is called HOT glue for a reason!) and holding on to an ice cube for a while, this is what I had- meet Twit and Twoo!


Clever girl that I am, I dug out some potpourri we bought at ALDI roundabout Christmas time to make the whole thing look a bit less empty. Smells nice, too :)

Here's the final result against the backdrop of my craft box.


A closer look:


For now, it's kept safe from the cats on the living room wall, but I'll find a better place for it. I might even put it away 'til September or so, since the thing looks more like autumn than summer to me. But for now, I have the owl- shadow- box- thing out of my system. Unfortunately, I had another shadow box idea involfing twigs and jewellery storage, but that will be left until my finger has healed from where it was cowardly attacked by hot glue.

Linkin' up:


All Thingz Related

Tuesday, June 22, 2010

The puppy of doom

Okay, so I am impatient. Very impatient.

After finishing my earlier post, I pretty much had to get started immediately. And since the project is supposed to be a gift for somebody, I decided to make something for the delightful people that have invited us to come to their house tomorrow and watch the England- Slovenia match with them.

Meet Carol and Wullie.


They have the most adorable little puppy, a chap called Milo. I am in love.
Last time we went for a visit, I talked Carol into giving me a snapshot of Milo, so I could carry it around with me and drool over him whenever I needed some cuteness, but it wasn't meant to be. Thanks to Mich and her darn Envelope of Doom, I turned the snapshot into a Thank you for having us- gift... have a look at how I spent my afternoon, if you like.

 It started with a frame that somebody had given a makeover, but obviously didn't like it very much, so it ended up in the charity shop where I snatched it up for a mere 50 pence. Steal! (and I can keep the seashells for another project.


See how dang cute that puppy is?? Awww!
So off to work I went, taking it all apart with a little help from The Bob. See that ripped and torn plywood where I had to rip off the Hessian? I mod- podged a few layers of thin paper over it, and the splinters were sorted. (actually, I am too cheap for Mod Podge, I used watered down PVA glue) The frame itself had been painted in some sort of salmon colour, so it got a few minutes under the sander, and that was it. To get some colour back onto the plain wood, i stained it with dark brown furniture polish.


Next, I mod- podged PVA'd the scrapbooking paper to the front of the plywood and altered it a bit with the blue ribbon because I wasn't loving the embellishment it had on it. The snapshot of Milo got attached to cardboard, then glued to the plywood and surrounded with twine- messy business! But totally worth the sticky fingers.


Bit empty, isn't it? Good job I am a genius! (err...) When looking for the PVA, I came across a box of almost forgotten plywood letters, so the frame got the ultimate personalization... a MILO on it. Heck, it took me about a century to embellish that dang letter L! The twine wouldn't stick for nothing, and it took every bit of my (almost non- existent) patience to get it done. The M was a lot more fun, I just snapped one of the ladybirds off the rusty wire and bound it with a bit of twine. Love it!


It still seemed a bit too plain, though. So I used the rusty wire and a few faux pearls in (almost) the colours of the dog toy to make a little flower thingy. Why, I don't know, but it seemed like a good idea at the time.


Well, and this is the final result. Sorry 'bout the reflection, I had to use flash since the sun has moved a little since I started the project- but PVA takes a while to dry, right? Even with a hair dryer aimed at it. I DID mention how impatient I am!


 That's it, my very first crafty post ever.  Nothing out of the ordinary, but I am really proud of myself :)
Thanks for bearing with me, and a big CHEERS! to Mich for getting me started.


Linkin' up to these:

BWS tips button